Creating Check Sheets gives your employees a way to ensure they have all the items needed to perform their daily task. To configure check sheets follow the steps below.
Step 1: Log into the VAIRKKO Platform
Step 2: Access the Administrative area by clicking 'ADMIN' in the upper right-hand corner.
Step 3: Access 'Employee Check Sheets' from the Administrative Toolbar
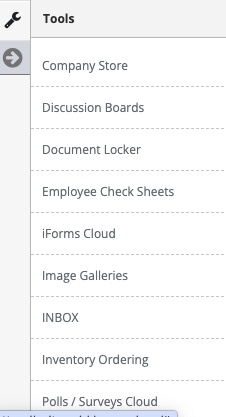
You will need to complete your Check Sheets in the following order:
- Sheet Template
- Sheet Categories
- Pick List
- Adding Questions
Step 1: Select 'Sheet Categories' from the in-app menu.

Step 2: Select the 'Add Category' tab to create a new category

Step 3: Follow the on-screen prompts to configure your check sheet category.
Working with created categories
Step 1: Select the 'Active Categories' tab
Step 2: Changes to the category name, the associated sheet template can be made from this screen. From the actions button next to the category you can change the notification settings and auto-par setting, and disabling a category can be made from this area.
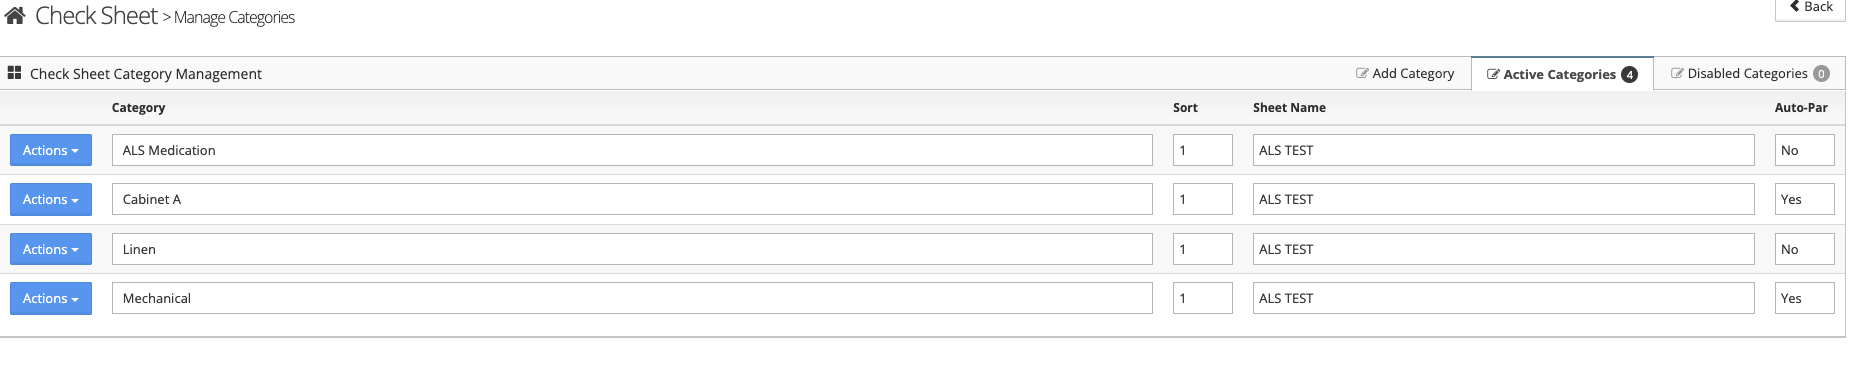
Auto-Par Feature
This feature will place an 'auto-par' button in the category header. If the employee selects this button it will auto-populate predetermined answers for the items within that category. The predetermined answers can be configured when you create your items.
Was this article helpful?
That’s Great!
Thank you for your feedback
Sorry! We couldn't be helpful
Thank you for your feedback
Feedback sent
We appreciate your effort and will try to fix the article